A clear purpose for the sequence
Identify the action and information the audience needs for one scene or emotional turn.
Keep the moment that moves the story.
Plenty of footage, but the story still will not cut together? Work from existing shots and references. Describe the story beats and pacing you want to keep, then review the proposed direction.
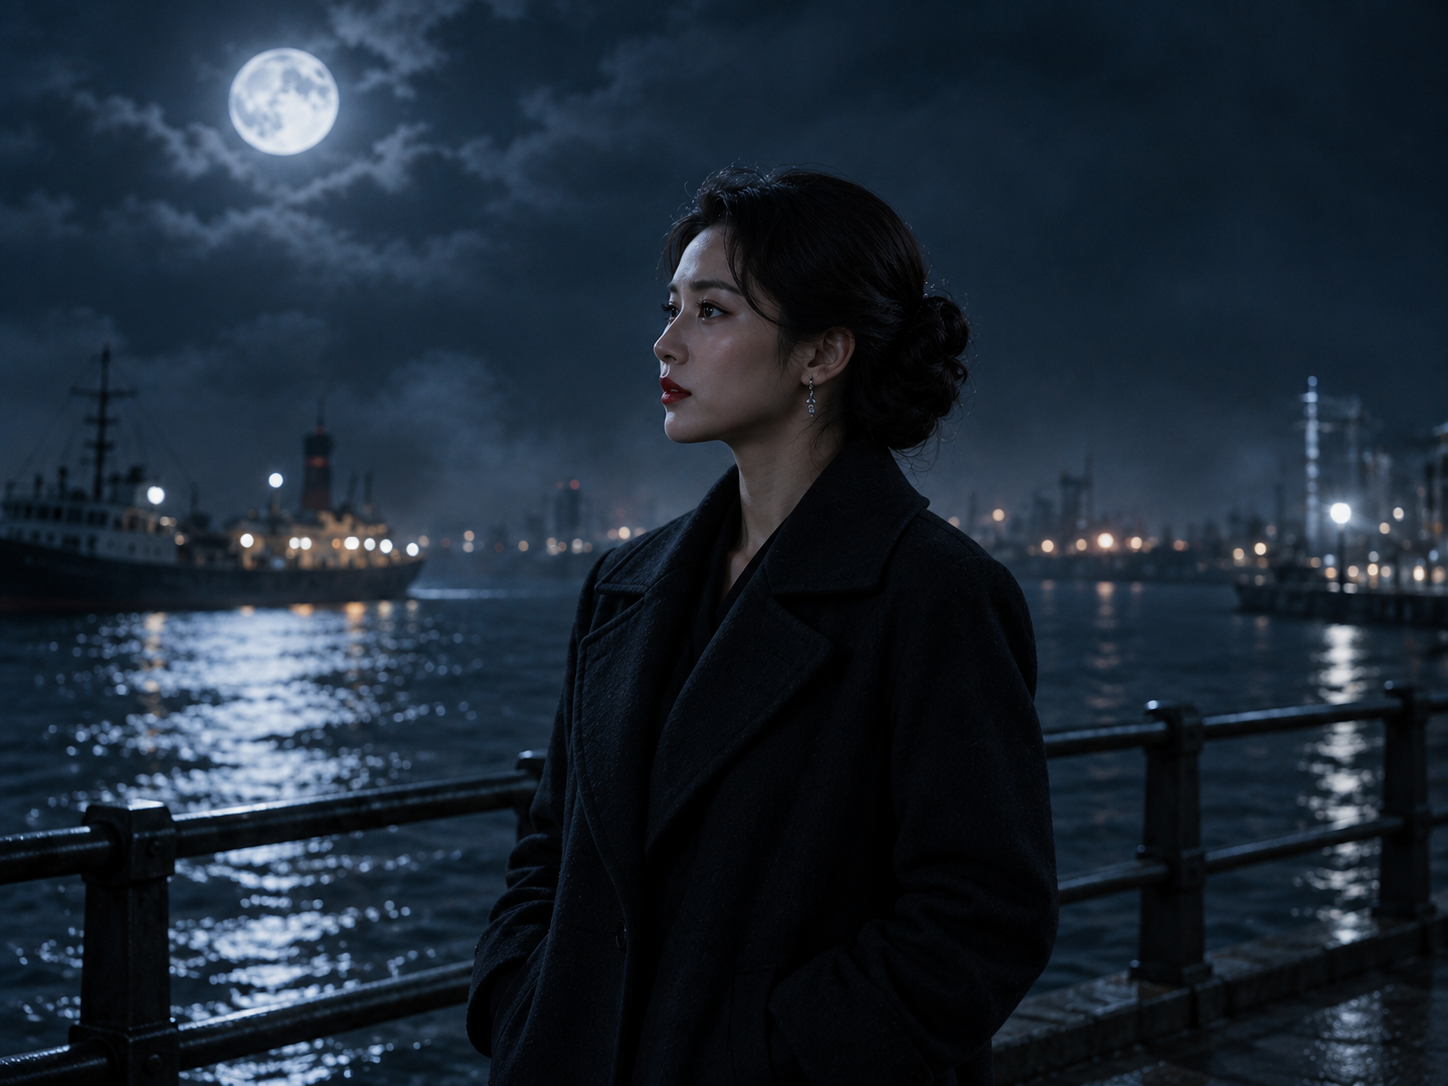
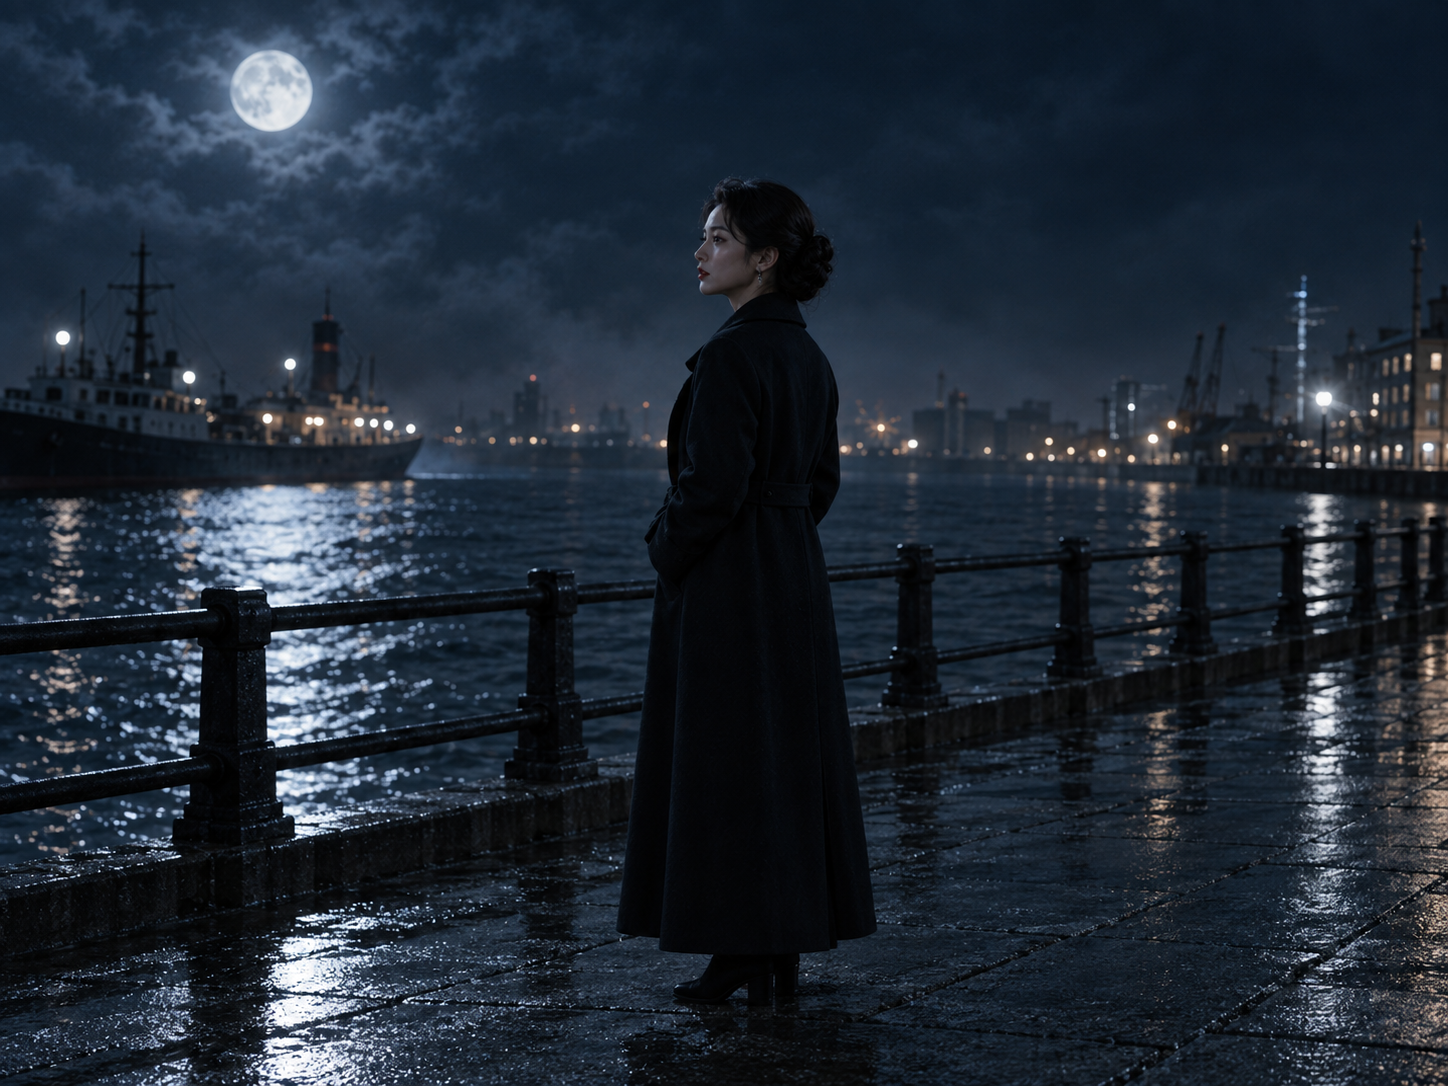 01 / Establish the setting02 / Move the action
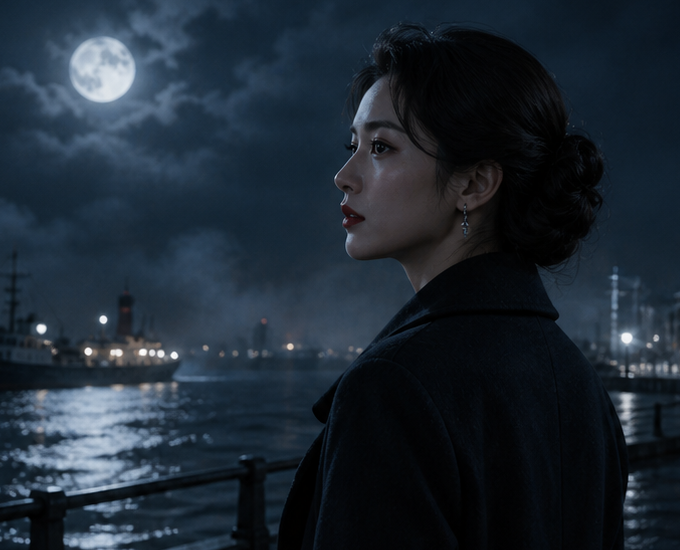 03 / Character reaction
Decide what the sequence must say before choosing what to keep and where the emotional turn lands.
01 / Establish the setting02 / Move the action03 / Character reactionBuild an editing direction around the story rather than the order in which footage was made.
Identify the action and information the audience needs for one scene or emotional turn.
Describe whether to establish the setting, show the action, or begin with a reaction.
Explain where to pause, what to shorten, and when the turn should arrive.
Review both the event and its emotional effect so the scene feels connected.
Compare the demo preview and task status with the narrative goal before refining the direction.
Keep direction, references, and previews together so the relevant version is easy to find.
You do not need the whole series mapped out. Work on the next meaningful step.
Describe shot order and the emotion you want to retain across action and reaction.
Place essential information, conflict, and an unanswered question in the right order.
Explain where the preview needs a pause, a shorter moment, or more context.
The Studio entry accepts a creative description, project references, and parameters, and shows a demo preview and task status. The timeline on this page is a product concept, not an available full video editor.
Specify the actions to keep, shot order, pace, and emotional turn. Establishing the harbor before a character reaction gives a clearer direction than “make it feel better.”
This page illustrates an editing direction concept. The current entry focuses on descriptions, project references, and demo previews. Available input methods and editing tools are shown in Studio.
The images are product concepts with a sample story, illustrating how production materials relate. “Explore editing direction” opens the current Studio demo. Available tools and the actual interface are shown in the workspace.
Work from existing shots and references. Describe the story beats and pacing you want to keep, then review the proposed direction.